iPhone Photography Tips & Tricks – Outdoors
Whether you’re taking photos of people, furniture, or products, these outdoor iPhone photography tips can help you achieve the best possible photo with your iPhone! This post is for any photo you might take outdoors. See our previous post for indoor photo tips.
Outdoor iPhone Photography Tips
#1 Lighting
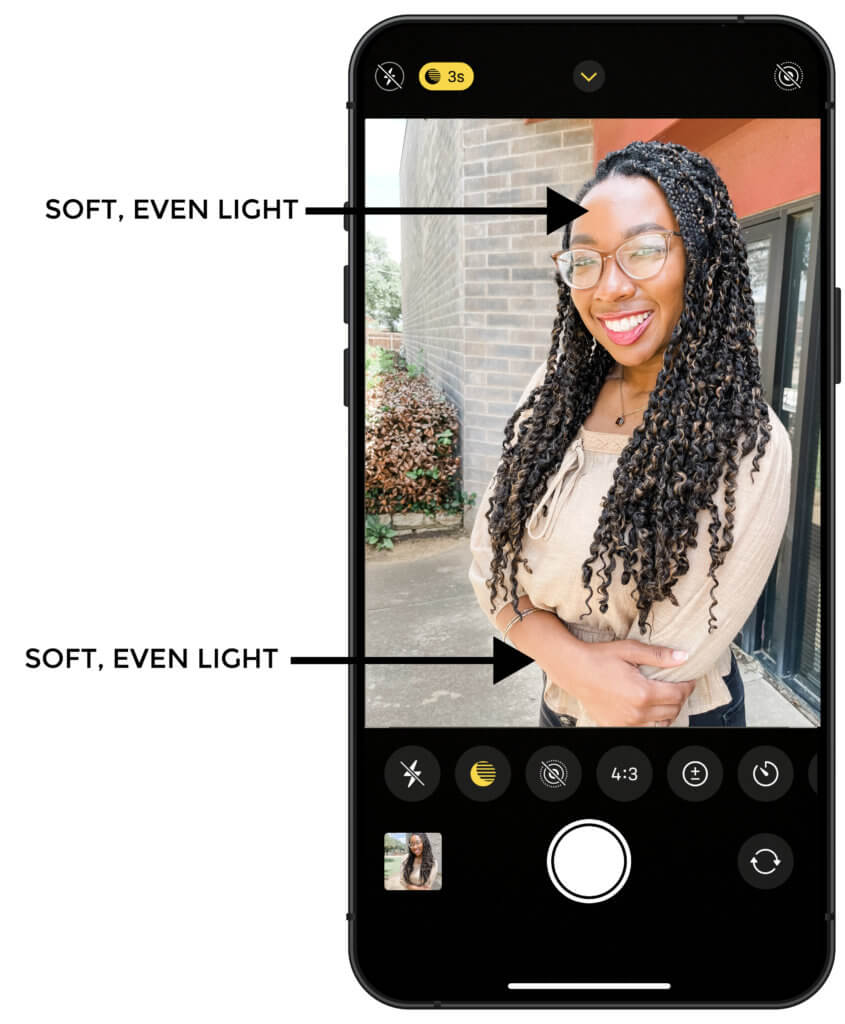
Just like with indoor photos as mentioned in the previous post, lighting is still our number one priority outdoors as well. Find open shade. Open shade is when your subject is standing in the shade but can look up and still see the sky. This will usually be shade cast by a building or something tall like a tree. If it casts a shadow on the ground, that can be your open shade.
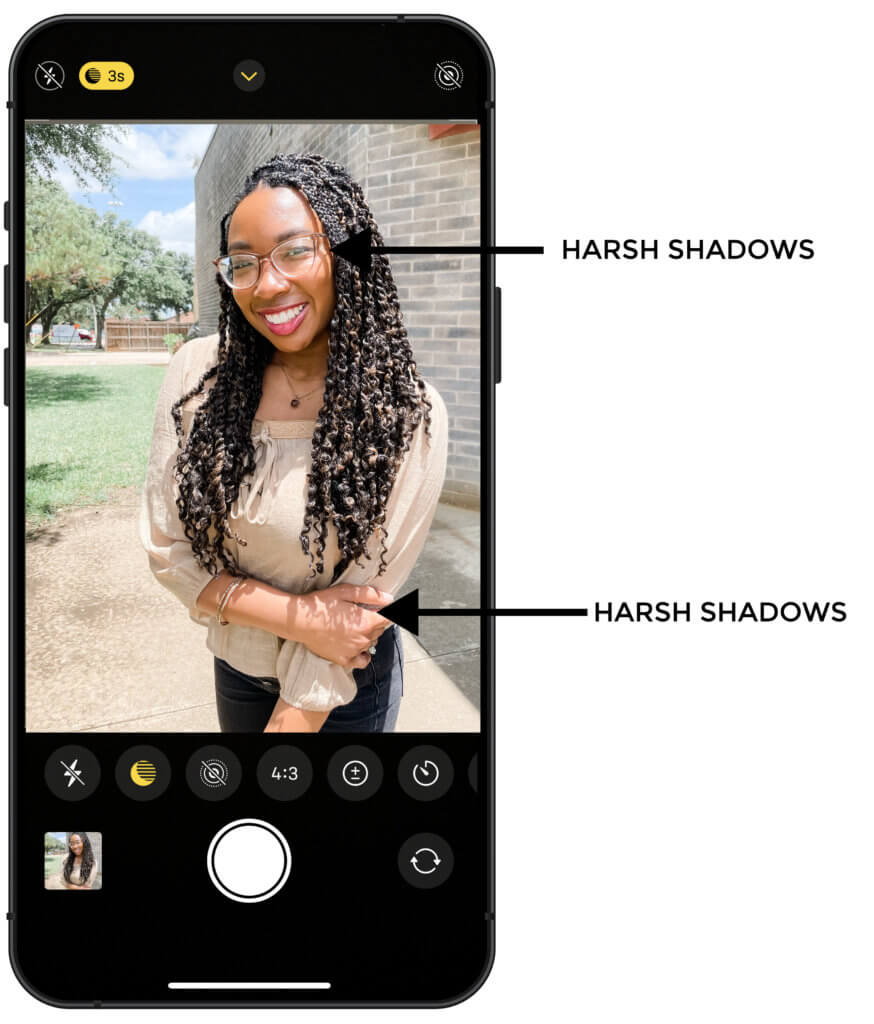
BONUS TIP: Never take a photo on the side of the subject that is being illuminated by the sun. It will cause very harsh shadows.
Below is an example of a photo taken with the subject positioned in open shade vs sun on the subject’s face.
#2 Backgrounds
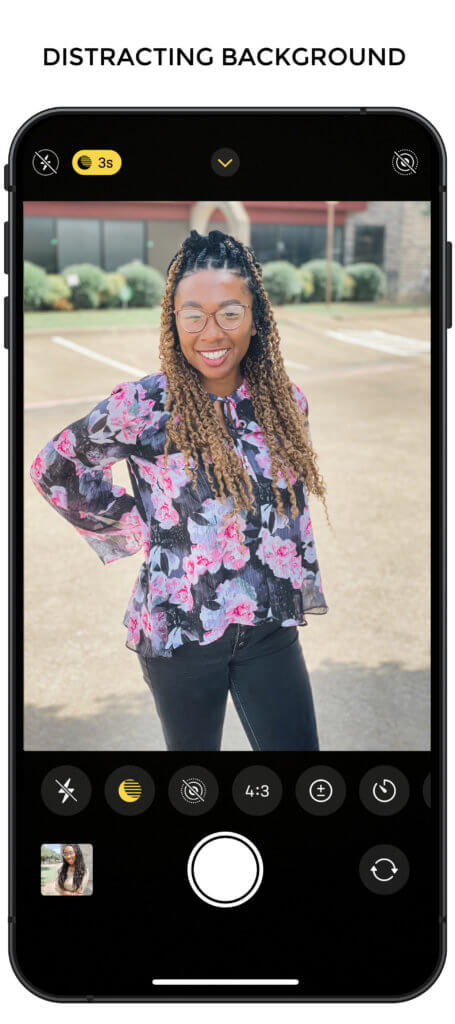
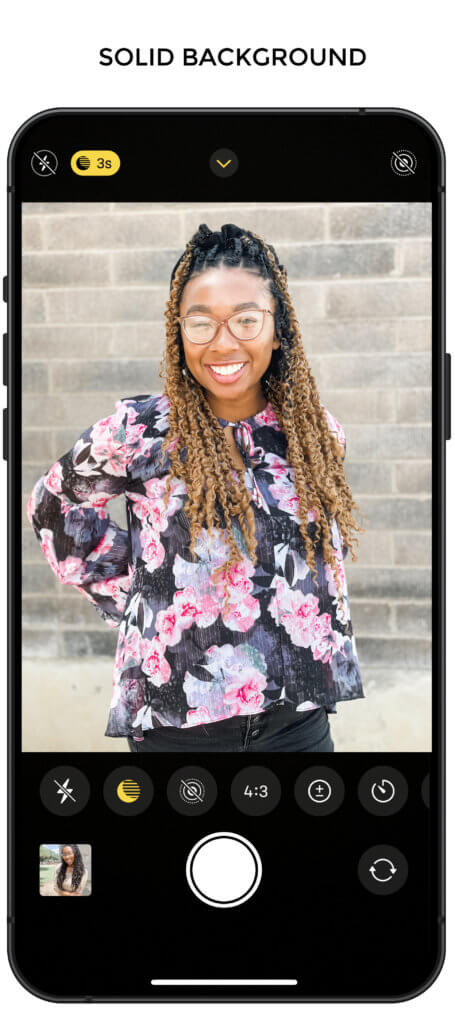
Make sure you have even light in the background. Solid colors help but don’t place your subject right up against a tree or wall. Create some depth by pulling the subject off the background.
Here in the first example, the subject has harsh, uneven light in the background. Simply turning her around to face a different direction gave the photo a nice solid colored background and even lighting. We had her take a few steps forward so she wasn’t right up against the wall which created the depth to make the subject stand out more.
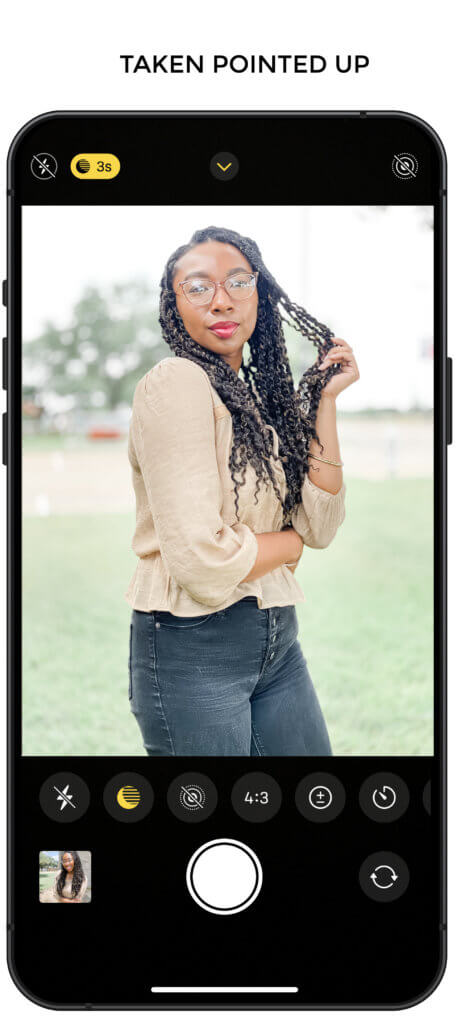
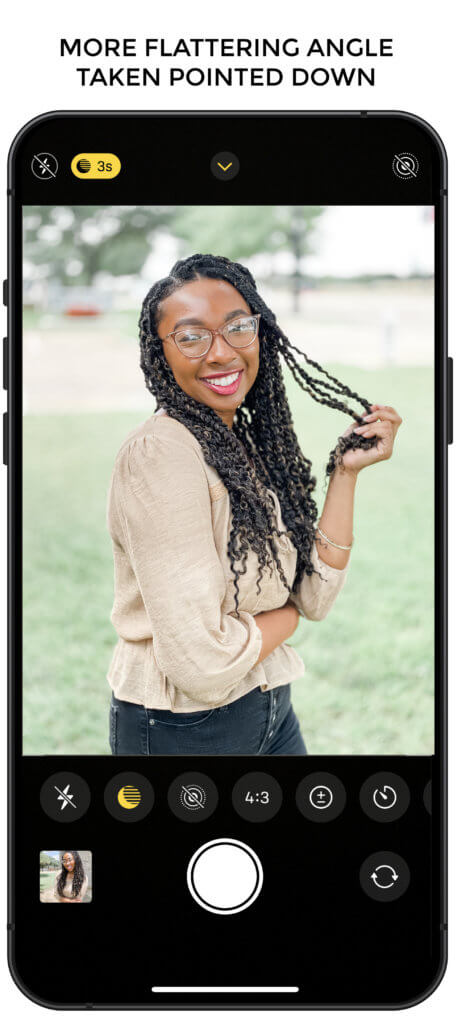
#3 Flattering Angles
Whether your subject is a person or an object, the angle always matters! A photo taken from a low angle looking up will make your subject look larger, and an angle taken from above your subject looking down will make your subject appear smaller or thinner. Taking the photo straight on will give the most accurate representation of the subject’s size. Pay attention to what your subject is and choose the best angle that works for each subject! For people, the best is taken at a higher angle looking down as shown in the example below.