iPhone Photography Tips & Tricks – Indoors
Whether you’re taking photos of people, furniture, or products, these iPhone photography tips can help you achieve the best possible photo with your iPhone!
iPhone Photography Tip #1 Lighting
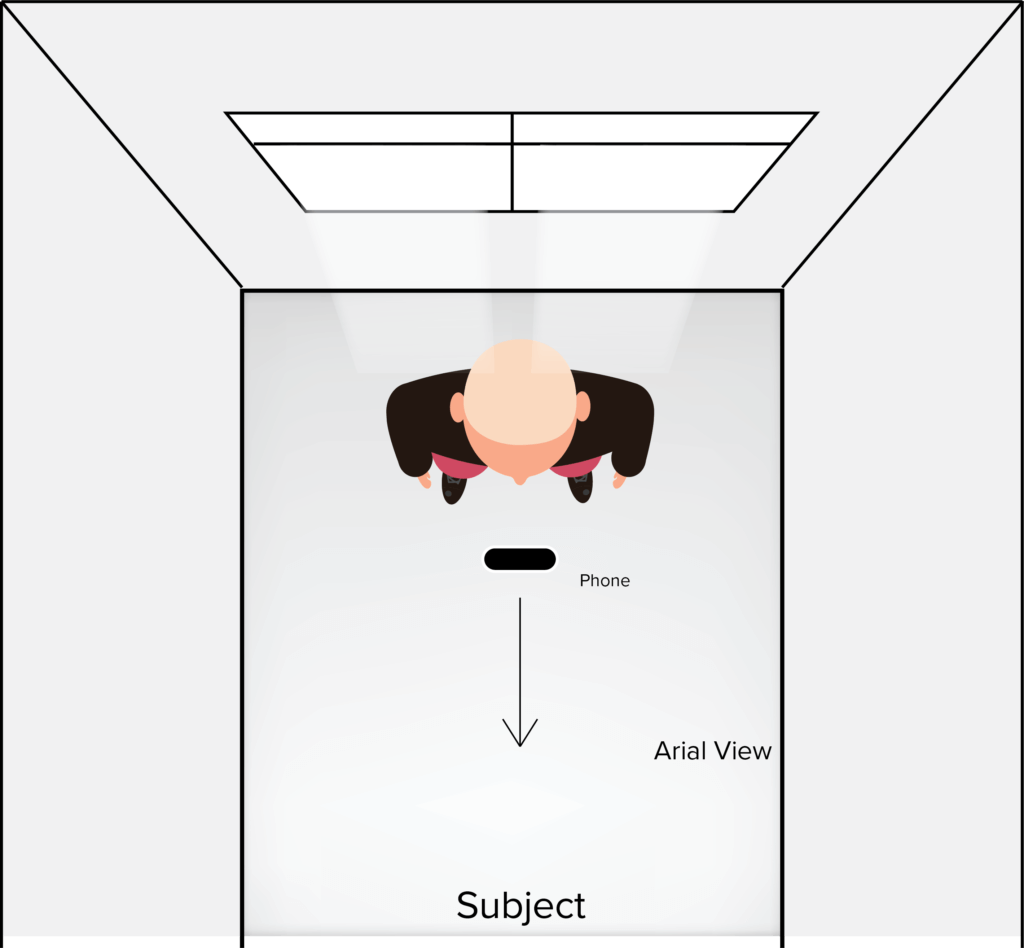
Kicking off our iPhone photography tips, lighting is the number one priority. Find a window and stand by it. Let the natural light work for you and take the photo in the same direction the light is shining in. When you’re indoors, in most cases, pointing the camera in the direction of a window will cause the room interior to be dark.
#2 Focus Tapping
If no natural light is possible, use focus tapping to properly expose your photo. Tap on the object you are taking a photo of so it can focus on the place YOU want it to and expose the photo properly.
#3 Manual Exposure
Sometimes phones don’t always get it right, or if you need just a little more light, click the up arrow on the top of the camera screen and it will bring up some menu options along the bottom. Click the circle with + and – symbol in it and manually slide the exposure to +0.3 or +0.7. Try not to go too far over +0.7 because it could cause the photo to be too washed out or hazy.
#4 Landscape
Lastly, this may seem silly, but so many people forget they can just rotate their phone because we use our phones in portrait orientation all day. Rotating to landscape and using the 1x feature can give a much wider shot and include more in the photo.